Layer Cake for the Balcony: A November Bulb Pot That Blooms in Waves

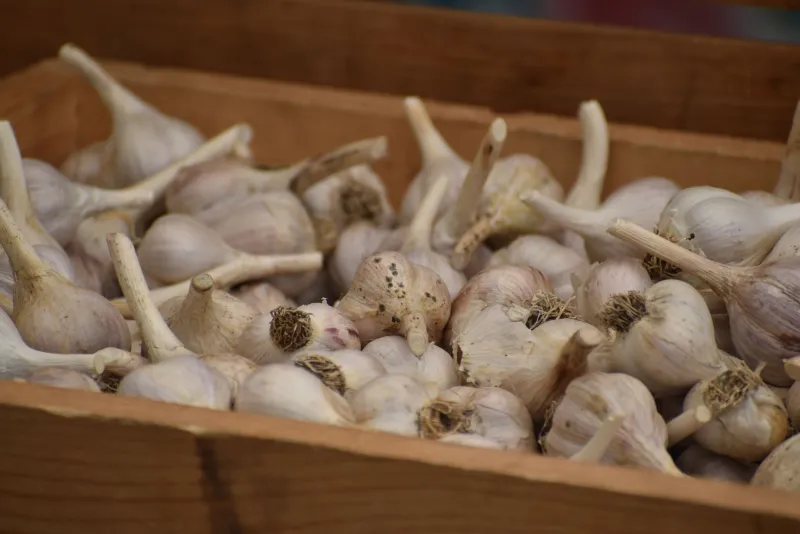
Photo: layered spring bulbs in a container pot UK garden crocus daffodils tulips, via www.monsoon.co.uk
There is a particular kind of optimism in planting a bulb pot in November. The garden is mostly sticks, the light is thin, and you are standing on a balcony trying to convince yourself that a tub of compost is a promise. It is. But the promise is better kept if you stop thinking of the pot as one display and start thinking of it as a schedule.
That is the real point of the layered bulb pot — often called a bulb lasagne, though the name makes it sound fussier than it is. You are not building a showpiece. You are staggering bloom times so one pot earns its place on the patio from late winter into spring. Get the order right and a 35–40cm pot can carry three or four waves of colour. Get it wrong and you have a very expensive tray of mud followed by a fortnight of tulips.
Why layering works — and where it doesn't
Bulbs are built to push through each other. In the ground, a crocus will happily come up through a drift of daffodils. In a pot, the same logic applies: plant the biggest, latest bulbs deepest, then stack earlier, smaller bulbs above them. Each layer has its own root run and its own moment.
The catch is volume. A shallow bowl cannot do this. You need depth — 30cm minimum, 40cm is better — and you need to accept that a small pot with three layers is a crowded place. Roots will compete, compost will dry out faster, and a hot April will shorten the show. Layering is a small-space compromise, not a magic trick. It works best in a pot that is wider than it is tall, raised off the ground, and planted with a bit of restraint.
The order of the layers
Think relay race, not fruit cake. The deepest layer should be the bulbs that flower latest and stand tallest. In a UK pot that usually means tulips. Above them, daffodils or narcissi. Above those, hyacinths if you want scent, though they are bulky and can bully smaller bulbs. The top layer is for the early, low-growing crowd: crocus, Iris reticulata, muscari, dwarf narcissi like 'Tête-à-Tête'.
A simple, reliable sequence for a 40cm pot:
- Bottom: 10–12 tulip bulbs, planted about 15–20cm deep.
- Middle: 8–10 daffodil or narcissus bulbs, around 10–12cm deep.
- Top: a generous scatter of crocus or Iris reticulata, 5–7cm deep.
You can swap in hyacinths for the middle layer if you want February scent, or use alliums for a later, floppier flourish. But keep the principle: big and late at the bottom, small and early at the top.
Depth, spacing and the honest maths
The old rule is that bulbs go in at two to three times their own height. That still applies in a pot, but layers make it a bit elastic. What matters is that no bulb sits directly on top of another. Leave a finger's width of compost between layers and a couple of centimetres between bulbs. They should be close, not touching.
Be realistic about numbers. A 35cm pot will not take 40 tulips and also give you a daffodil layer. If you overcrowd it, you get leaves, not flowers. For a first attempt, choose two layers rather than three. Tulips below, crocus above, is a perfectly good relay. Add a third layer next year when you know how the pot behaves.
Compost, drainage and the pot itself
Bulbs rot in wet compost. That is the main risk in a UK winter, especially in a pot that sits on a saucer. Use a peat-free multi-purpose compost mixed with about a quarter grit by volume. It holds moisture without turning into a bog. Put a layer of crocks or gravel in the base, check the drainage holes are actually open, and stand the pot on feet or bricks so water can escape.
Feed is not complicated. Mix a slow-release bulb feed into the compost at planting, or plan to give a liquid feed when shoots appear in spring. Do not add rich manure; bulbs are not hungry in the same way as vegetables, and too much nitrogen encourages soft growth.
Squirrels, cats and other critics
Squirrels dig. They do not care about your schedule. The reliable answer is a sheet of chicken wire or rigid mesh laid over the compost, weighed down with a couple of stones or pegged at the edges. Remove it when the first shoots are a few centimetres tall and the bulbs are rooted in. Cats will use the pot as a litter tray if it is bare, which is another argument for a gravel or bark mulch on top.
If you are on a balcony, pigeons can also flick compost about. A mesh cover solves that too. It is not pretty, but it is temporary, and it is far less annoying than replanting a pot in January.
The mud months: keeping it presentable
This is the part most guides gloss over. From November to February, a bulb pot looks like a tray of wet soil. If it is sitting by your front door, that matters.
The easy fix is to plant winter bedding over the top layer. Pansies, violas, cyclamen, or a few small heathers will give you colour through the gap and hide the bare compost. They will not smother the bulbs if you plant them shallowly and keep them to the edges. Alternatively, a 2cm layer of gravel or dark bark mulch makes the pot look deliberate rather than abandoned.
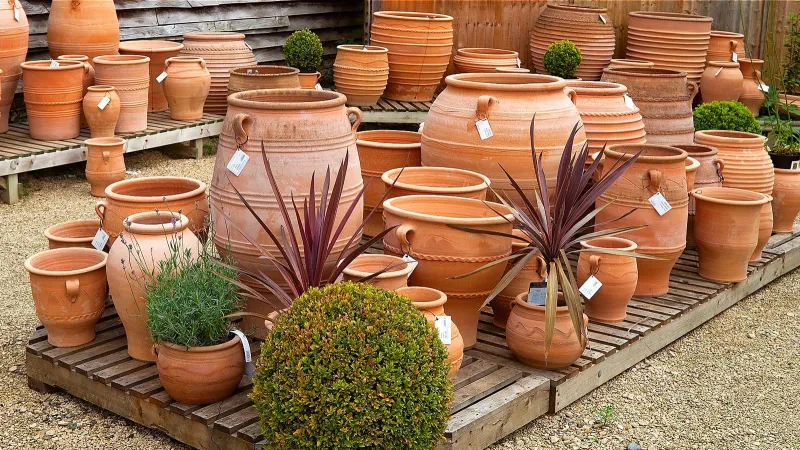
Do not forget the pot itself. A frost-proof terracotta or a thick glazed pot will survive the winter better than a thin plastic tub that goes brittle in the cold. If you are using plastic, choose one with thick walls and keep it out of the worst of the wind.
Watering and the spring handover
After planting, water the pot once and then leave it alone. Winter rain usually does the rest. Check it during dry spells and after a hard freeze, when the compost can be surprisingly dry. In spring, as shoots appear, water more regularly and start a liquid feed every fortnight.
Once the flowers fade, deadhead them but leave the foliage. The leaves are feeding the bulbs for next year. When they yellow and collapse, you can tidy them away. At that point you have a choice: tip the whole lot out, or leave the bulbs in the pot for another year. Leaving them works, but the display gets thinner. Most of us get better results by treating the pot as a one-season project and starting again in November.
A realistic shopping list
For one 40cm pot: a bag of peat-free multi-purpose compost, a small bag of grit, 10–12 tulips, 8–10 narcissi, a handful of crocus or iris, a sheet of mesh, and a few winter bedding plants. That is the whole kit. No special layering gadget, no expensive bulb fibre, no drama.
The bulb lasagne is not really about showing off. It is about getting more from a small space by planning the timing. Plant it in November, cover it with mesh, stick a few pansies on top, and let the pot do the rest. By March you will be glad you did.