The Tenner Soil Test: Read Your Garden Before the Frosts
Soil testing has a habit of sounding more scientific than it needs to. You can spend £40 on a gadget that flashes a number, or £10 on a small kit with a test tube and a colour chart. For most gardeners, the second option is the sensible one — provided you take the sample properly and resist treating one reading as gospel. Late autumn is a good time to do it: the soil is still workable, the beds are quieter, and you have months to plan next year’s planting and mulching.
Why test soil in late autumn?
Spring is busy. If you discover in March that a bed is sharply acidic or that the clay is worse than you thought, you are already behind. Testing now gives you time to order compost, plan a lime application or rethink where the brassicas go. It also tells you whether the problem is pH at all. Many disappointing crops are caused by drainage, compaction or starving soil rather than acidity, and a cheap test can stop you adding the wrong remedy.
The other reason is practical: soil is easier to sample when it is damp but not frozen. You can dig a small hole without fighting concrete, and you can feel the texture in your hand. That feel is often more useful than any gadget.
The three options, honestly compared
Cheap pH kit — around £8–£12
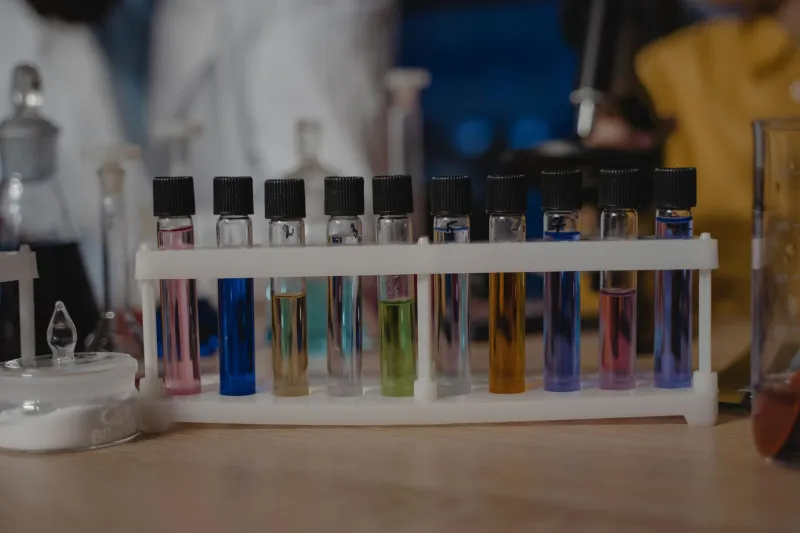
A basic kit uses a dye, a test tube and a colour chart. You mix soil with water or a supplied solution, add the indicator, and match the colour. It is not lab-grade, but it is good enough to tell you whether your soil is acid, neutral or alkaline. The weakness is the colour chart: two people can look at the same tube and see different shades. Use natural daylight, not a kitchen bulb, and follow the timing exactly.
Electronic probe — often £10–£25
These are tempting because they skip the mess. You push the metal probe into damp soil and a number appears. In practice, cheap probes can drift, especially in cold or dry soil, and they only measure pH on most models. A flashing number is not a diagnosis. If you already own one, use it as a rough check in several spots, clean the probe between beds and do not trust a single reading. If you are buying from scratch, the humble dye kit is usually the better tenner.
Lab test — roughly £25–£60 or more
A proper lab test can cover pH, phosphorus, potassium, magnesium and organic matter, sometimes with recommendations. It is overkill for a few raised beds, but it makes sense for a new allotment, a large garden or a plot with a stubborn problem that has resisted ordinary feeding. You still have to take a good sample, so the old rule applies: rubbish in, rubbish out.
Taking a sample that is not a work of fiction
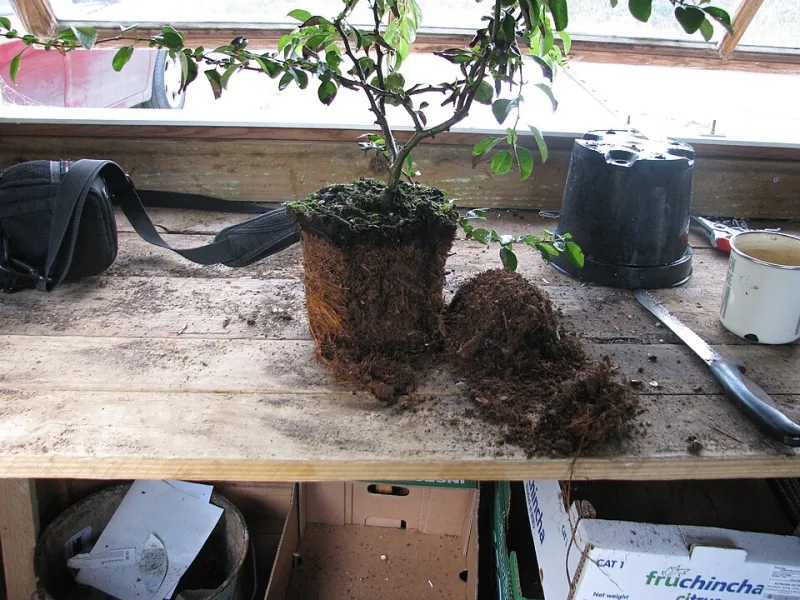
Do not scrape a spoonful from one spot and call it a soil test. Take 10–15 small samples across the bed in a zigzag pattern. Remove surface debris and any mulch, then dig to about 10–15cm for general beds — deeper for trees and shrubs if the kit advises it. Put the cores in a clean bucket and mix them thoroughly. From that mix, take the amount your kit needs.
Use a clean trowel or auger, not a rusty tool or a galvanised bucket that might affect the result. Avoid sampling straight after liming or feeding, and do not sample a waterlogged corner as if it represents the whole garden. If your plot has very different areas — a shady clay patch, a sandy raised bed, a chalky bank — test them separately. One number for the whole garden is often one number too few.
Clay, chalk or loam: what you are actually feeling
Texture matters as much as pH. Squeeze a damp handful of soil. If it moulds into a sticky ribbon and stains your fingers, you have a lot of clay. If it feels gritty and falls apart quickly, it is sandy. If it is crumbly, dark and holds together without being gluey, you are close to loam. Chalky soil often contains white fragments and drains fast, and it tends to be alkaline.
This matters because clay and chalk need different handling. Clay benefits from organic matter and avoiding autumn digging when wet; chalk may need more water-retentive compost and careful planting. A pH kit will not tell you any of that. Your hands will.
Reading pH without overreacting
Most vegetables are happy in the 6.0–7.0 range. Brassicas generally prefer a little higher, around 6.5–7.5. Potatoes do well slightly acid, around 5.5–6.5, while blueberries want genuinely acid soil and are a poor bet on chalk. If your test comes back at 6.5, you do not need to do anything dramatic. If it comes back at 5.0, you may want to lime before planting certain crops — but only if the crop wants it and only after reading the kit’s instructions.
Do not lime by habit. Lime raises pH, and too much of it can lock up nutrients and make some crops unhappy. Similarly, do not pile on ericaceous compost unless you are growing plants that actually need it. The result should guide a decision, not trigger a shopping spree.
What to do with the result before winter
Write the result down, along with the bed name and the date. If the soil is acid and you plan to grow brassicas, plan a lime application for late winter or early spring, following the product rate. If drainage is the issue, add organic matter and consider raising the bed rather than simply digging deeper. For most beds, a autumn mulch of well-rotted compost or leaf mould is a better all-round investment than another bottle of feed.
Keep the record. Test again in two or three years, or sooner if you change the bed dramatically. Soil changes slowly, and a notebook is more useful than a shelf of half-used products.
The tenner verdict
A cheap pH kit, used on a properly mixed sample from several spots, will tell you more than a £20 probe waved about in one damp corner. It will not give you a full nutrient report, but it will answer the question most gardeners actually have: is this soil acid, neutral or alkaline, and what should I do about it? Spend the tenner, take the sample properly, and ignore any gadget that promises a precise number without context.